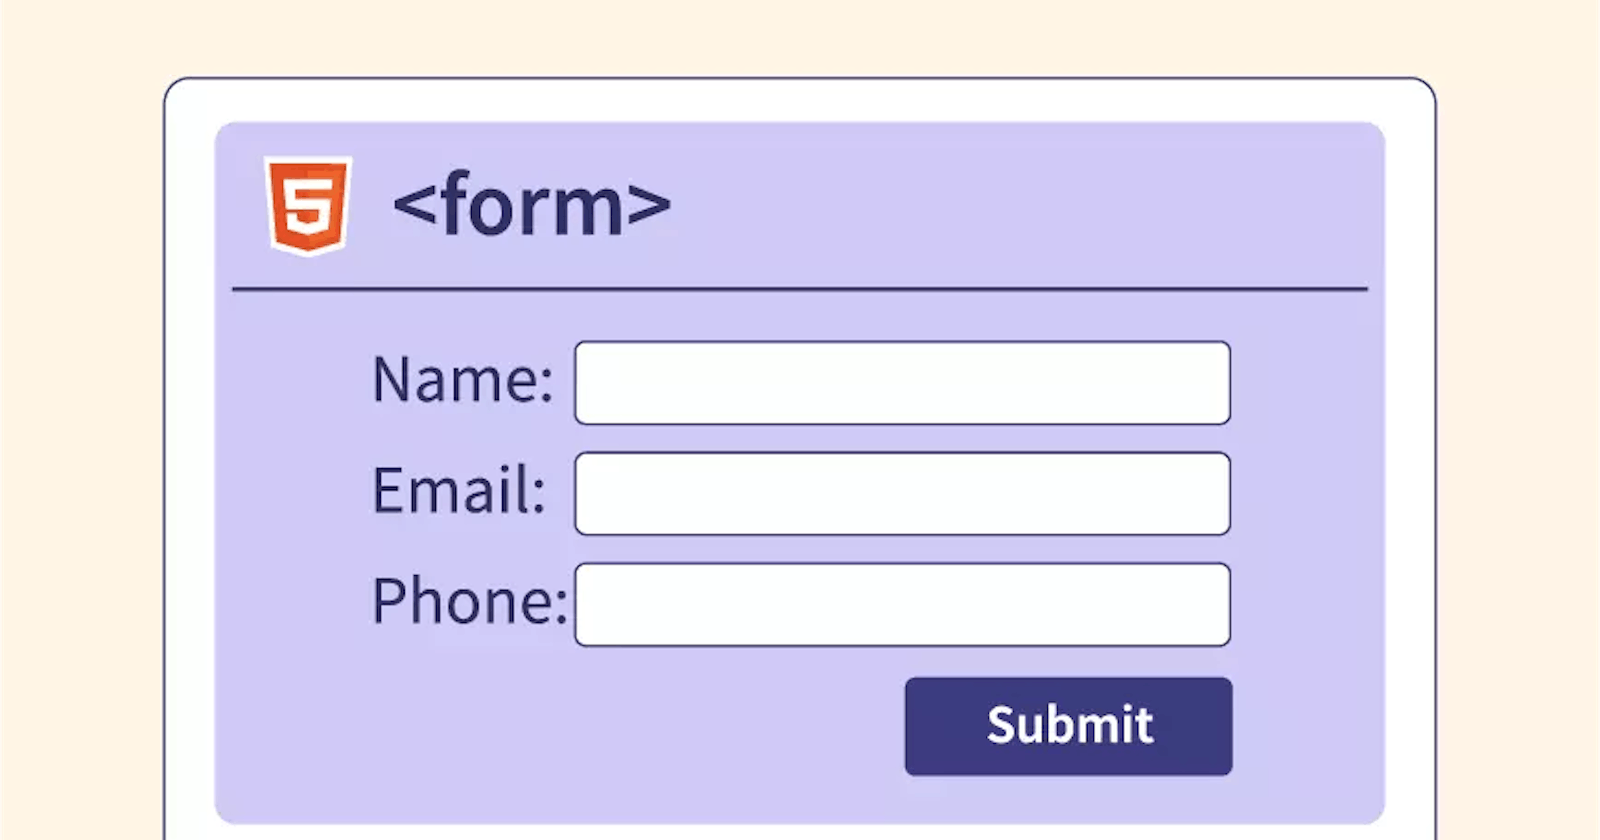
1. What are forms in terms of HTML?
In HTML, forms are a way to collect user input, such as text, selections, and files. They are essential for creating interactive web applications, enabling users to submit data to a server for processing. Forms are created using the <form> element, which can contain various input elements and other components.
2. Various components that can be used in the form tag
There are several components that can be used within the <form> element to create different types of input fields and controls. Some of the most common components include:
<textarea>: A multi-line text input field, allowing users to enter larger amounts of text.
<select>: A dropdown list that allows users to choose one or more options from a predefined list.
<button>: A clickable button that can be used to submit the form or perform other actions.
<label>: A text label associated with an input element, providing a description or instruction for the input field.
3. Various Input types and their uses
The <input> element supports a wide range of input types, each with its own purpose and use case. Some of the most common input types include:
text: A single-line text input field.
password: A single-line text input field that masks the entered characters.
radio: A radio button that allows users to select one option from a group.
checkbox: A checkbox that allows users to select multiple options from a group.
file: A file input that allows users to upload files.
submit: A button that submits the form data to the server.
reset: A button that resets the form to its initial state.
Here's an example of a simple form with various input types:
<form>
  <label for="name">Name:</label>
  <input type="text" id="name" name="name">

  <label for="password">Password:</label>
  <input type="password" id="password" name="password">

  <label for="gender">Gender:</label>
  <input type="radio" id="male" name="gender" value="male">
  <label for="male">Male</label>
  <input type="radio" id="female" name="gender" value="female">
  <label for="female">Female</label>

  <label for="newsletter">Subscribe to newsletter:</label>
  <input type="checkbox" id="newsletter" name="newsletter">

  <input type="submit" value="Submit">
</form>
4. How to label inputs
To associate a label with an input element, use the <label> element and the for attribute. The for attribute should match the id attribute of the input element. This association provides better accessibility and usability, as clicking the label will focus or activate the associated input field.
Here's an example of labeling a text input field:
<label for="username">Username:</label>
<input type="text" id="username" name="username">
5. How to group a section of the form with the help of fieldset and give that section a caption with a legend tag
To group related form elements, use the <fieldset> element. This creates a visual grouping and improves accessibility by providing a semantic structure. To add a caption to the group, use the <legend> element within the <fieldset>.
Here's an example of using <fieldset> and <legend> to group form elements:
<form>
  <fieldset>
    <legend>Personal Information</legend>

    <label for="name">Name:</label>
    <input type="text" id="name" name="name">

    <label for="email">Email:</label>
    <input type="email" id="email" name="email">
  </fieldset>

  <fieldset>
    <legend>Preferences</legend>

    <label for="newsletter">Subscribe to newsletter:</label>
    <input type="checkbox" id="newsletter" name="newsletter">
  </fieldset>

  <input type="submit" value="Submit">
</form>
Now that you've learned about HTML forms, their components, input types, labeling, and grouping, you're ready to create interactive and accessible web forms. Happy coding!
Quiz Time!
What is the purpose of HTML forms?
Name three components that can be used within the <form> element.
Difference between radio button and checkbox types?
How do you associate a label with an input element?
How do you group related form elements and add a caption to the group?
Here are three mini-project questions based on the above blog topics, along with their answers:
Mini-Project 1: Create a simple contact form
Question: Create a basic contact form with fields for the user's name, email, subject, and message. Use appropriate input types and labels for each field. Add a submit button to send the form data.
Mini-Project 2: Create a user registration form
Question: Create a user registration form with fields for the user's first name, last name, email, password, and confirmation password. Use appropriate input types and labels for each field. Add a submit button to register the user.
Mini-Project 3: Create a survey form
Question: Create a survey form with fields for the user's name, email, and three multiple-choice questions. Use appropriate input types and labels for each field. Add a submit button to send the survey responses.
